How to Sprout Moong Beans at Home – A Simple and Healthy Guide
Sprouting moong beans at home is one of the simplest and most effective ways to boost your nutrition. These tiny green beans, once sprouted, transform into a powerhouse of health benefits—rich in protein, fibre, and essential vitamins. If you’ve ever wondered how to get those perfect long tails on your sprouts like the ones seen in health food shops or cooking demos, you’re in the right place. With just a little patience and the right environment, you can enjoy fresh, crunchy, and chemical-free moong sprouts at home.
Why Choose Sprouted Moong?
Sprouted moong is much more nutritious than dry or cooked moong beans. When moong beans sprout, their protein content becomes more bioavailable, and the vitamin C levels significantly increase. They’re low in calories, high in fibre, and packed with enzymes that improve digestion. Sprouts are especially recommended for vegetarians, weight watchers, and those looking to boost their immunity through plant-based foods.
Including sprouted moong in your daily diet supports gut health, balances blood sugar levels, and aids in muscle repair. They’re also an ideal ingredient for those following high-protein or low-carb meal plans.
Ingredients You Need
You’ll only need one ingredient to get started—moong beans. Choose unpolished, whole green moong beans for best results. They should be fresh, clean, and free from pesticides or artificial coatings. The fresher the beans, the better the sprouting rate.
For quantity, start with 1/2 cup of moong beans which will expand after soaking and sprouting, giving you enough sprouts for 2–3 servings.
Step-by-Step Method to Sprout Moong Beans
1. Wash Thoroughly:
Place the moong beans in a bowl and wash them 2–3 times under clean running water. This removes any dust or dirt on the surface.
2. Soak the Beans:
Add about 1/4 cup of water and let the beans soak for 4–5 hours. Soaking softens the outer layer and activates enzymes essential for sprouting.
3. Drain and Transfer:
Once soaked, drain the beans and transfer them to a steel or plastic strainer. Place this strainer over a deep bowl or container to collect any excess water.
4. Rinse and Cover:
Give the moong a gentle rinse again, drain all the water, and cover the strainer with a lid or plastic wrap. This helps retain moisture and warmth without trapping excess water, which can cause mould.
5. Leave in a Warm Spot:
Let the beans rest in a warm, dark place—such as a closed microwave or a kitchen cabinet—for 12 hours or overnight. Avoid direct sunlight or cold areas. In cooler climates, you can even wrap the strainer in a kitchen towel to maintain warmth.
6. Ready to Use:
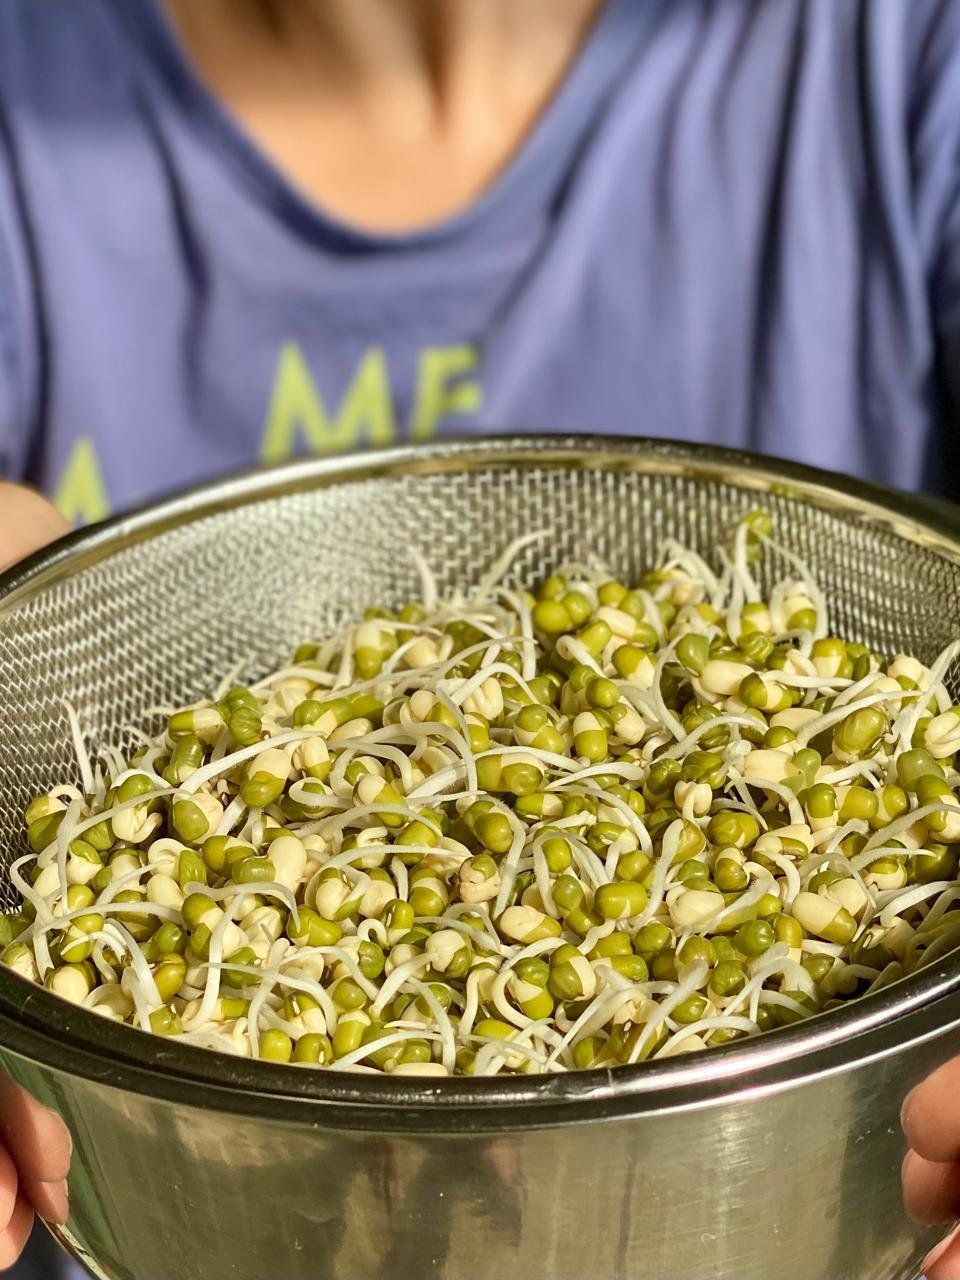
Check after 12 hours. You’ll notice tiny white tails emerging. For longer sprouts, let them sit for another 6–8 hours. Once they reach your desired length, they’re ready to eat!
How to Use Sprouted Moong ?
Sprouted moong beans are highly versatile. You can eat them raw in salads, toss them with lemon and chaat masala for a quick snack, or lightly steam them to use in dosas, sabzis, or curries. They also go well in sandwiches, wraps, and tikkis. Sprouts stay fresh in the refrigerator for up to 2–3 days when stored in an airtight container.
Final Thoughts
Sprouting moong beans at home is economical, hygienic, and incredibly rewarding. It only takes a little time and care, and the results are well worth it. Not only do you get fresh and crunchy sprouts, but you also avoid preservatives and plastic packaging common in store-bought versions. Whether you’re trying to lose weight, build muscle, or simply eat clean, home-sprouted moong is a must-have addition to your meal plan.
So start sprouting today and experience the energy of live food—straight from your kitchen!
