
Turn Leftover Rice into Crispy Cheeseballs & Bhat Na Shekla
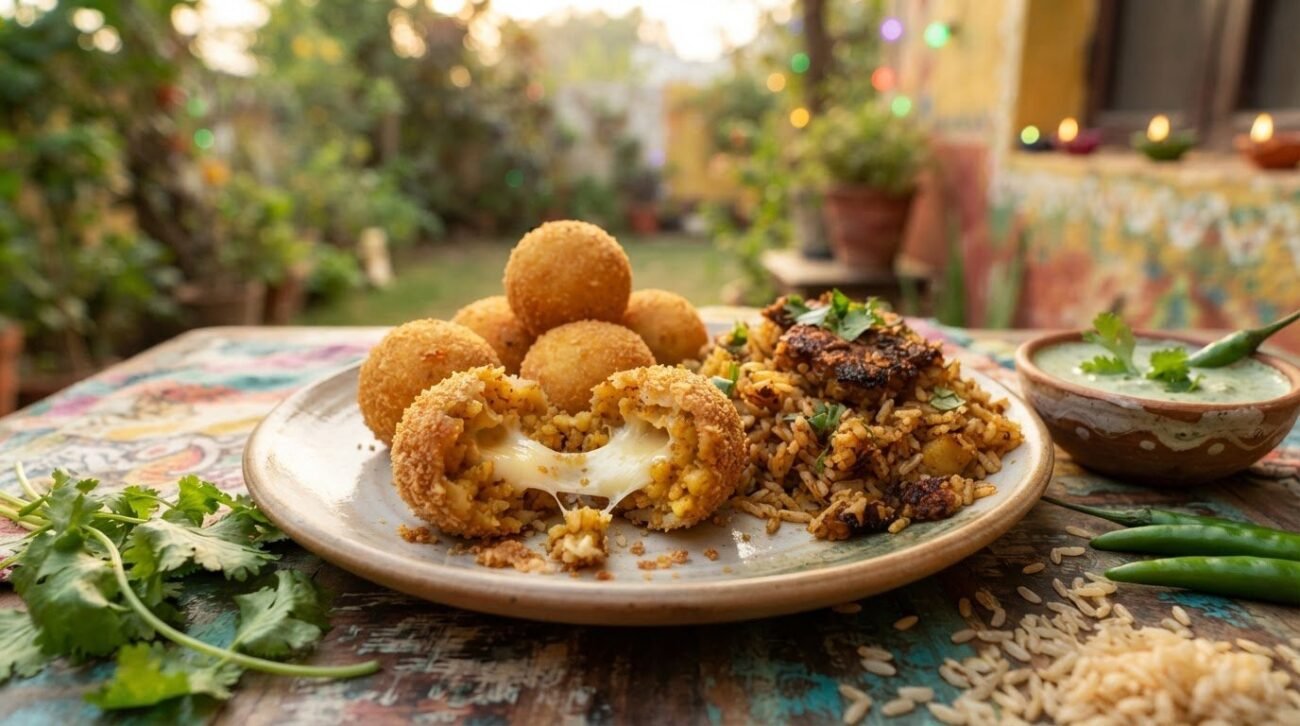
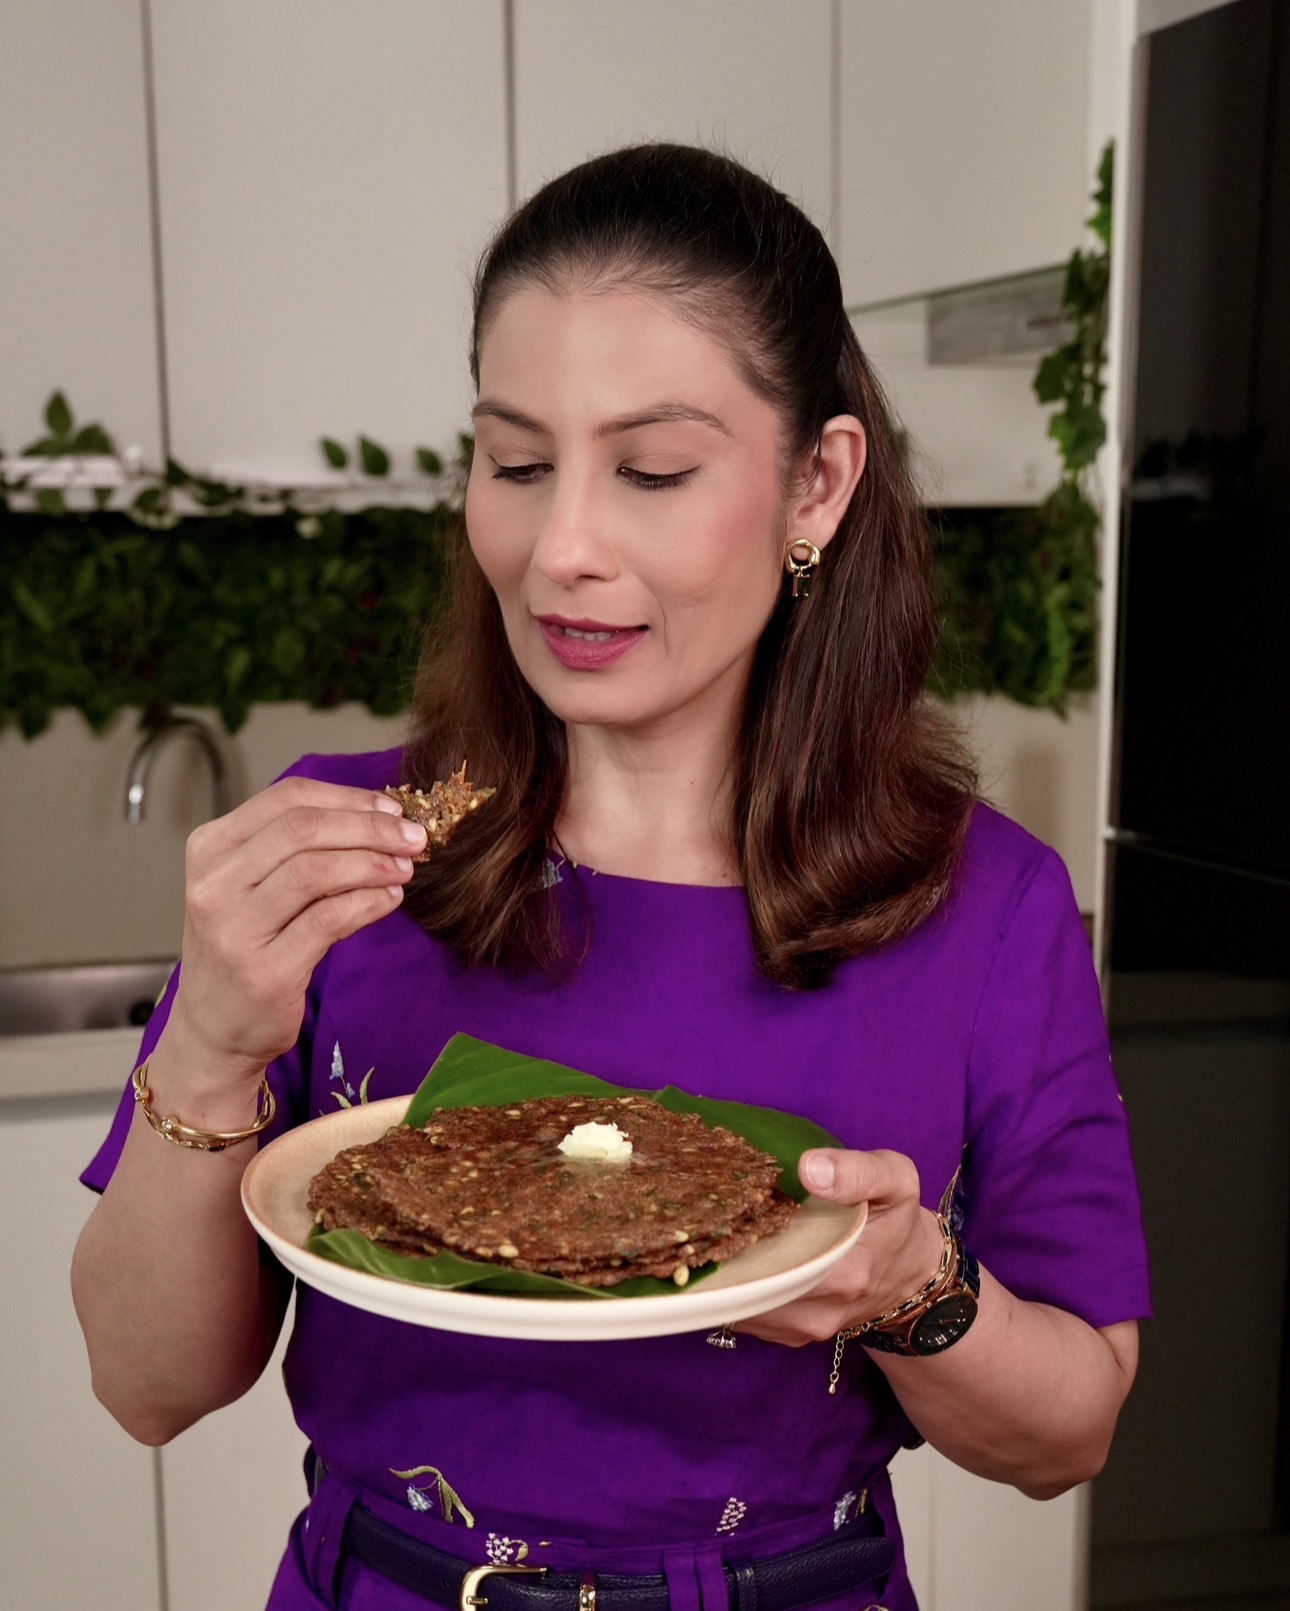
Don’t throw away yesterday’s rice: make these crispy cheeseballs or Bhat Na Shekla, then choose the finish that suits your table. Bake the cheeseballs in a preheated oven at 200 C for 15 minutes, or pan-fry them until golden and crisp; fry the rice balls for 5-8 minutes. Either way, leftover rice becomes a savoury, crunchy snack with a cheesy centre.
Leftover rice may seem like an awkward extra, but it can become a delicious party snack. The key is making the mixture firm enough to shape and sealing the coating around the filling so each ball holds together. Here, you’ll find tips for making both versions, comparing baking with pan-frying, and choosing dips that bring out their flavour. Pick the method that suits you and turn yesterday’s rice into a snack worth sharing.
Key Takeaways
- Shape the potato mixture around cheese cubes, then coat the balls so they hold together and develop a crisp exterior.
- Choose baking at 200 C for 15 minutes or pan-frying to golden crispness, depending on the texture and cooking style you prefer.
- Use dips to complement the savoury, cheesy centres and make these bites party-ready.
- Turn cooked brown basmati rice into Bhat Na Shekla with a measured coating and a cheese filling.
- Follow the shaping, coating, and frying steps to help the rice balls become crisp and golden without losing their filling.
What are Cheese Balls?
Potato cheese balls wrap seasoned mash around a cheese centre, then cook under a crisp coating. Bhat Na Shekla uses cooked rice for its outer layer, creating a chewier bite. The potato recipe takes 35 minutes overall, while Bhat Na Shekla fries for 5-8 minutes. Taste and texture differ, but nutrition depends on the ingredients and cooking method; frying adds more cooking oil than baking.
Store leftover rice carefully before using it. Spread it in a shallow, clean container so it cools quickly, then refrigerate it promptly. Keep it covered and take out only the portion you need. Reheat that portion until steaming hot, and avoid reheating rice more than once. Cooked rice stays safe only if it cools promptly and remains cold; its safety depends on how it has been handled. Discard rice that has been left warm for a long time.
- Boil the potatoes. Cook 250 grams of potatoes with their skins on to help prevent waterlogged, mushy flesh. Peel and mash them once tender. A drier mash is easier to shape and helps the cheese stay enclosed.
- Season and bind the mash. Add 1 teaspoon of garlic paste or garlic powder, 2 tablespoons of chopped cilantro or fresh herbs, ½ teaspoon of dried herbs, and ½ to ¾ teaspoon of chilli flakes. Mix in 6 tablespoons of breadcrumbs or powdered poha. Add the binder evenly so each portion holds when pressed.
- Portion and stuff. Divide the potato mixture into 8 to 10 balls. Cut cheese into ½ to ¾ inch cubes. Flatten a portion, place a cube in its centre, and fold the mash around it. Pinch the seam closed to prevent leaks.
- Rest and coat. Roll each ball smooth, checking for cracks, then rest the shaped balls for 10 minutes before coating. This pause helps the mixture firm up for handling. Coat them evenly with breadcrumbs for a crunchy outside.
- Adapt the filling and coating. Leave out onion if a variation includes it; it isn’t needed in this potato mixture. For gluten-free balls, use powdered poha instead of wheat breadcrumbs and choose suitable gluten-free binders. Without cheese, the centre won’t melt, so use a firm, seasoned filling instead.
Keep the potato skins on while boiling, as recommended; this helps prevent the potatoes from becoming mushy. Once tender, peel and mash them, aiming for the drier texture described above. A firm mash is easier to portion and shape around the cheese, while sealed seams help keep the filling inside. Check each ball for cracks before coating and press any openings shut so the cheese stays enclosed during cooking.
Fry the cheese balls over medium or medium-high heat until golden and crisp, as the recipe recommends. Use the golden colour and crisp coating as cues that they’re ready, rather than relying on an unspecified cooking time. Handle the shaped balls carefully as you move them to the pan; cracks or open seams can let the filling leak out.
Baking or pan-frying options
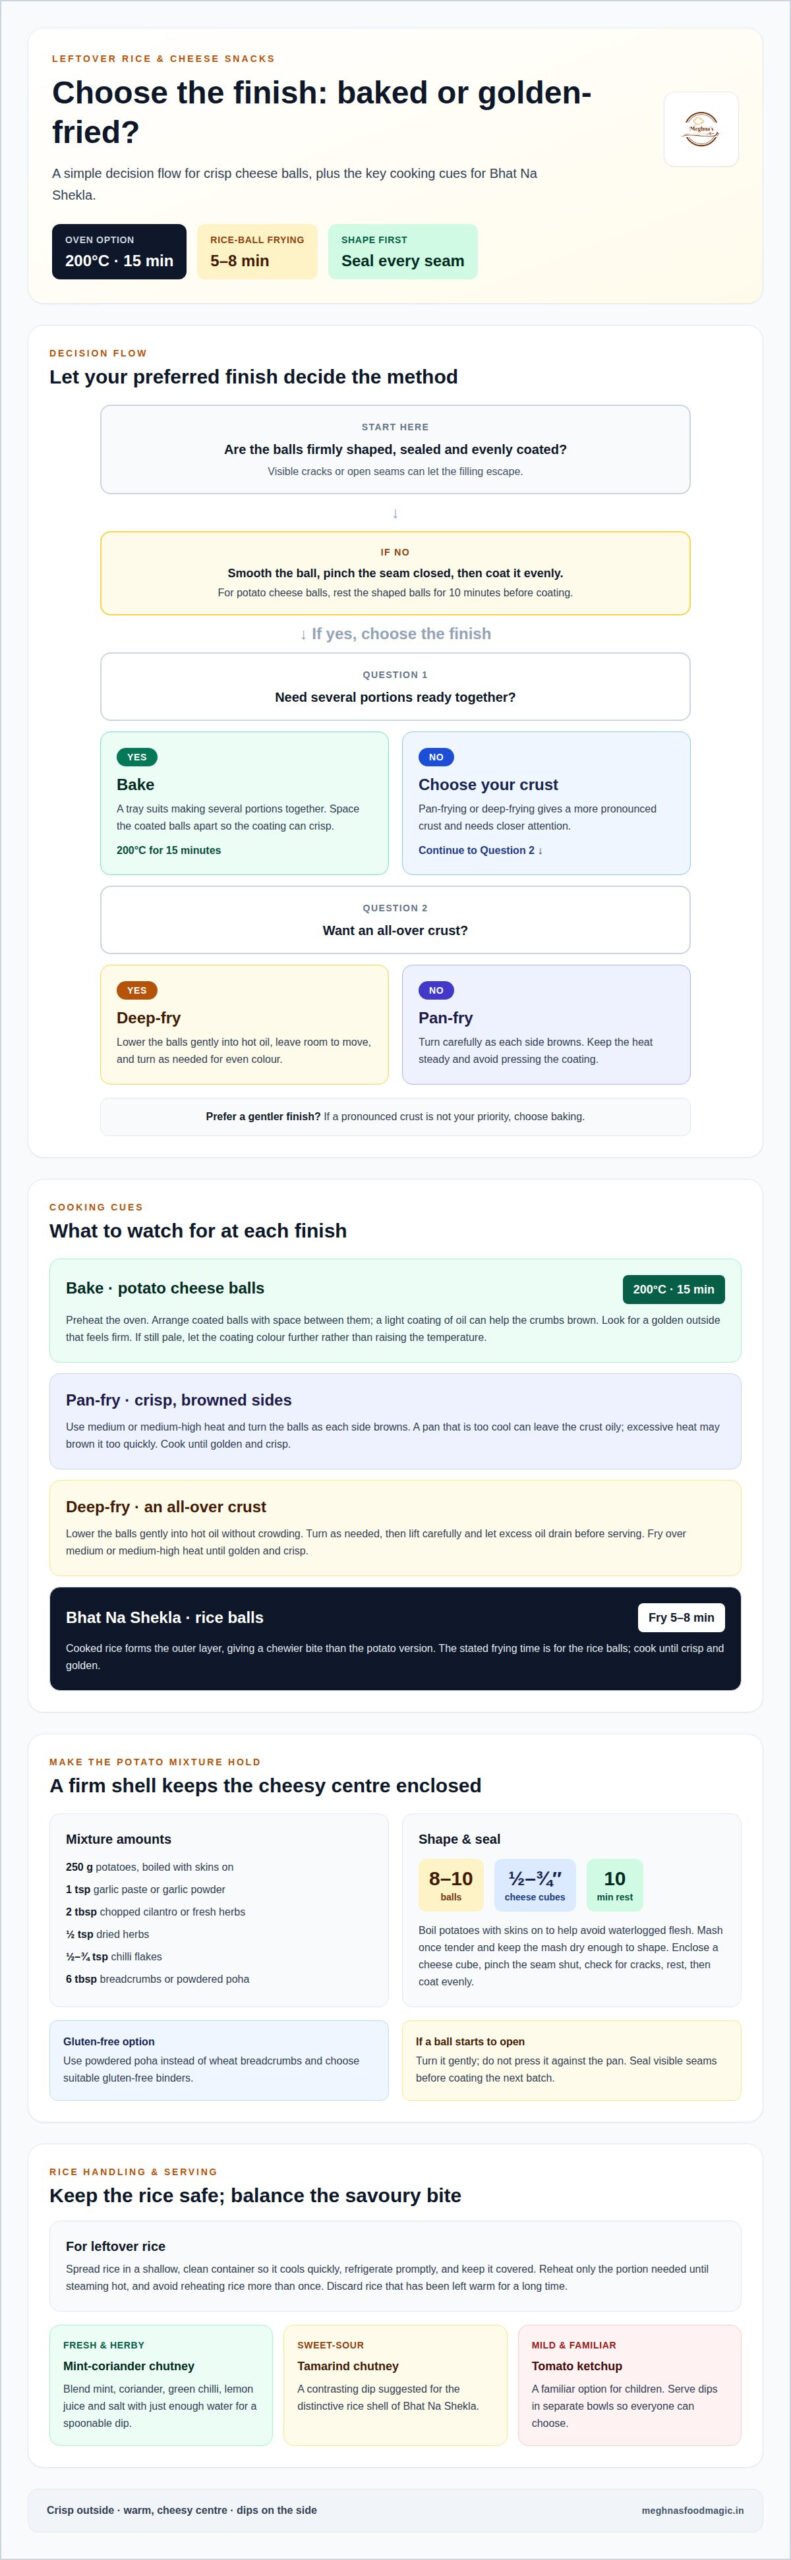
- Choose the finish before heating. Baking gives the cheese balls an evenly browned exterior with less direct contact with oil. Pan-frying develops a deeper crust more quickly and needs closer attention. For either method, start with firmly shaped, coated balls; loose seams can let melted cheese escape as they cook.
- Set up the oven method. Preheat the oven to 200 C, then arrange the coated balls on a baking tray with space between them. Crowding traps moisture and can soften the coating instead of helping it crisp. A light coating of oil can help the crumbs brown, but the recipe’s stated oven method doesn’t require a measured amount.
- Bake until the coating turns crisp. Bake at 200 C for 15 minutes. Check that the outside looks golden and feels firm before removing the tray. If the balls are still pale, allow the coating to colour further rather than raising the temperature. Stronger heat can brown the crumbs before the centre warms through.
- Pan-fry for a golden crust. Heat a pan over medium or medium-high heat, then add the cheese balls carefully. Turn them as each side browns, using a spoon or tongs to avoid crushing the coating. Keep the heat steady: a pan that’s too cool can leave the crust oily, while excessive heat may brown it too quickly.
- Use deep-frying when you want an all-over crust. Lower the balls gently into hot oil, leaving enough room to move them without crowding. Turn them as needed so the crumb coating colours evenly. Fry over medium or medium-high heat until golden and crisp. Lift them out carefully and let excess oil drain before serving.
- Troubleshoot the coating as you cook. If a ball starts to open, turn it gently and avoid pressing it against the pan. For the next batch, seal any visible seams before coating. If the crumbs darken too quickly, lower the heat; if the surface stays pale, cook it longer over steady heat instead of rushing.
- Match the method to the occasion. Bake a tray when you want several portions ready together; pan-fry or deep-fry when you prefer a more pronounced crust. Serve the balls soon after cooking, while the coating is crisp and the cheese centre is warm. For more snack inspiration, explore Meghna’s cooking videos.
Serving with dips
- Pair each bite with a contrasting flavour. Potato cheese balls are rich and savoury, so try mint-coriander chutney for freshness. Bhat Na Shekla has a distinctive rice shell; tamarind chutney adds a sweet-sour contrast. Tomato ketchup is a familiar, mild option for children. Put different dips in separate bowls so everyone can choose.
- Make mint-coriander chutney the bright option. Blend fresh mint and coriander with green chilli, lemon juice, and salt. Add just enough water to make a spoonable dip. The herbs lift the buttery taste of melted cheese, while lemon sharpens each bite. Keep the chutney thick enough to cling to a crisp ball.
- Balance spicy snacks with cooling yogurt. Stir plain yogurt with roasted cumin and chopped coriander for a quick dip. A little grated cucumber adds a fresh, juicy crunch. This mild flavour suits chilli-seasoned potato balls without overpowering the filling. Serve the yogurt in a chilled bowl to help it keep its creamy texture.
- Bring in tamarind for sweet-sour depth. Tamarind chutney complements the browned rice crust and soft cheese centre. Its tangy sweetness also pairs well with garlic and herbs in the potato mixture. Spoon it into a small serving bowl rather than pouring it over the snacks. Keeping the coating dry helps it stay crisp longer.
- Offer a simple tomato dip for familiar flavour. Serve tomato ketchup as it is, or stir in finely chopped coriander for a fresh note. For a sharper taste, add a squeeze of lemon. This pairing works especially well when the snack mixture already contains chilli flakes. Keep the dip optional so the cheese and herbs remain noticeable.
- Arrange the platter for easy dipping. Set the hot balls on a serving plate with space between them. Place mint chutney, yogurt, and tamarind chutney in separate bowls around the edge. Add cucumber sticks or carrot batons for a crisp contrast. Use small spoons for the chutneys to keep their flavours separate.
- Serve sauces thoughtfully. Put out the dips just before serving, and keep the crunchy snacks away from the sauce until each bite. Guests can dip as they eat, helping the coating stay crisp. For a party platter, label mint chutney as fresh and spicy, yogurt as cooling, and tamarind as tangy-sweet. This simple guide makes choosing a dip easy.
What are the ingredients and quantities for Bhat Na Shekla?
- Measure the cooked rice. Set out 2 cups of cooked brown basmati rice. Its grains form the outer layer, so break up dense clumps before mixing. If the rice is very firm, separate it gently with clean fingers or a fork. Avoid mashing it into a paste, which can make shaping difficult and hide the rice’s texture.
- Season the rice base. Add ½ teaspoon of Himalayan white salt and 1½ teaspoons of arrowroot powder. Salt seasons the rice throughout, while arrowroot helps bind the mixture. Mix until the powder is distributed evenly. The rice should feel cohesive when pressed, not dusty with dry starch or loose with scattered grains.
- Prepare the cheese filling. Measure 100 grams of cheese for the stuffed rice balls. Cut it into small pieces that can sit inside the rice without reaching the edges. A compact filling leaves room to seal the shell all around. Keep each piece centred during shaping, because exposed cheese may leak as it melts.
- Set out the dry coating. Measure 2 tablespoons of corn flour for rolling the shaped balls, then place ½ cup of breadcrumbs in a separate dish. The corn flour gives the surface a dry layer for the wet coating to cling to. Breadcrumbs create the outer crunch, so keep them separate from the rice mixture until assembly.
- Prepare the egg coating. Beat 2 eggs in a shallow bowl until the whites and yolks combine. This coating helps breadcrumbs adhere evenly to each ball. A shallow dish makes rolling easier and reduces the chance of flattening a delicate rice shell. Keep one hand for the egg and another for breadcrumbs to avoid clumping coating on your fingers.
- Mix the starch slurry. Whisk 2 tablespoons of corn starch with 3 to 4 tablespoons of water. Add the water gradually until the slurry is smooth and pourable. This is a separate coating component from the measured corn flour and breadcrumbs. Stir it again before use, because starch can settle at the bottom.
- Organise the ingredients before shaping. Place the seasoned rice, cheese, corn flour, beaten eggs, slurry, and breadcrumbs within easy reach. This keeps the filling and coating steps orderly. Shape a small test portion first: the rice should close around the cheese without cracking. If the shell breaks, gently press the rice together before coating.
- Keep the quantities distinct. The recipe uses 2 cups of rice, 100 grams of cheese, and measured coatings for its crisp finish. Don’t swap corn flour for corn starch in the listed slurry; each appears as a separate ingredient with its own stated amount. Measuring first helps preserve the balance between a cohesive rice shell and a crunchy breadcrumb exterior.
How do you make Bhat Na Shekla step by step?
- Check the rice texture. Use 2 cups of cooked brown basmati rice. Break apart compact clumps gently with a fork, keeping the grains intact. The mixture should hold together when pressed. If it feels loose, work the rice firmly between your fingers before adding the seasonings.
- Season and bind the rice. Mix in ½ teaspoon of Himalayan white salt and 1½ teaspoons of arrowroot powder. Stir until the powder coats the grains evenly. Arrowroot helps the rice hold its shape during stuffing and coating. Avoid vigorous mashing, which can turn the rice base sticky and difficult to shape.
- Prepare the cheese filling. Cut 100 grams of cheese into pieces small enough to enclose inside the rice. Keep each piece near the centre of its portion. A centred filling leaves rice around every side, helping prevent cheese from escaping as it melts during frying.
- Shape each stuffed ball. Take a portion of seasoned rice and gently flatten it in your palm. Place a piece of cheese in the middle, then bring the rice around it. Press the seams together and roll until smooth. Fix any cracks before moving on, since open seams can split during cooking.
- Roll the balls in corn flour. Place 2 tablespoons of corn flour in a shallow dish. Roll each shaped ball through it, covering the surface lightly. Tap off excess flour so the coating doesn’t form a dry, thick layer. This first coat helps the wet coating cling evenly.
- Set up both wet coatings. Beat 2 eggs in one bowl. In another, whisk 2 tablespoons of corn starch with 3 to 4 tablespoons of water, stirring until smooth. Dip each floured ball in the slurry, then the beaten egg. Let excess coating drip back into its bowl before adding breadcrumbs.
- Cover with breadcrumbs. Measure ½ cup of breadcrumbs into a separate shallow dish. Roll each coated ball in the crumbs until the surface is covered. Press lightly so they adhere, but don’t flatten the rice shell. Set the coated balls aside while you prepare the pan for frying.
- Fry until crisp and golden. Fry the rice balls for 5-8 minutes, turning them carefully so the coating browns evenly. Remove them when crisp and golden brown. Handle them gently; a spoon or slotted utensil helps protect the crumb shell. Serve promptly, while the coating stays crunchy and the cheese centre is warm.
Meghna’s Food Magic: Free Digital Recipe Database
Meghna’s Food Magic offers a free digital recipe database for home cooks ready to turn everyday ingredients into something exciting. After making Bhat Na Shekla or potato cheese balls, explore more ideas for snacks and meals. Browse High Protein Recipes for satisfying dishes, or explore Weight Loss Fitness Recipes for options suited to those goals. Millets Recipes offer another way to bring different grains into your cooking, without making every meal feel the same.
Use the database when you’re planning a new dish, exploring ingredients, or wondering what to cook next. Follow your curiosity, choose a recipe that suits your table, and enjoy experimenting in your kitchen.
Visit Meghna’s Food Magic to explore the recipe database.
Make Your Next Leftover a New Favourite
Let the next extra portion spark some kitchen creativity. A familiar ingredient can become a snack with its own personality when you rethink its shape, filling, coating, and dip. Try a different herb or chutney next time and notice how a small change shifts the flavour. Using leftovers this way feels less like a task and more like an invitation to experiment.
“Don’t throw away yesterday’s rice! Make these crispy cheeseballs or Bhat Na Shekla” is a cheerful reminder to look at what you already have before planning something new. Choose the version that suits your mood, serve it while crisp, and share your favourite twist with family or friends. Your next batch could spark another delicious idea.
Stay curious, trust your taste, and let everyday ingredients surprise you. Your kitchen is ready for its next little triumph.
Frequently Asked Questions
How to make these healthier?
Choose oven-baking instead of deep-frying to limit added cooking oil, and let herbs, garlic, and chilli bring the flavour. You can also add finely chopped vegetables, such as grated carrot or peas, to the rice mixture. Keep the filling moderate, then serve the snack with a fresh coriander-and-lemon dip instead of relying only on creamy sauces. These adjustments preserve the spirit of “Don’t Throw Away Yesterday’s Rice! Make These Crispy Cheeseballs or Bhat Na Shekla” while leaving room to tailor the snack.
How do you make crispy cheeseballs using leftover cooked rice?
Use cooked rice that’s cool enough to handle, then press it gently around the cheese filling so no gaps remain. If the grains won’t hold together, lightly mash some of the rice to help bind the shell while keeping some grains intact for texture. Coat each ball evenly, including its base, and avoid overfilling. Think of “Don’t Throw Away Yesterday’s Rice! Make These Crispy Cheeseballs or Bhat Na Shekla” as an invitation to shape leftovers into a crisp, cheese-filled bite.
What are the best ways to make rice cheeseballs crispy without deep-frying?
Oven-baking and pan-frying can both give rice cheeseballs a crisp finish without deep-frying. For baking, arrange them with space between each ball so hot air can brown the coating. For pan-frying, use a thin layer of oil and turn them gently as they colour. With either method, an even crumb coating and sealed seams help prevent soft patches and cheese leaks.
What chutneys and dips pair well with these leftover-rice snacks?
Pair the savoury rice shell with a sharp green-chilli and peanut chutney, or serve a lemony hung-curd dip for a cool, tangy contrast. A roasted tomato dip also works well, especially with a garlic-seasoned filling. Keep the sauces in separate bowls and dip each bite as you eat. This helps the coating stay crisp and lets everyone choose the flavour they enjoy.
What is Bhat Na Shekla, and where in India is it traditionally made?
Bhat Na Shekla is a crispy snack made with seasoned cooked rice wrapped around a cheese filling. The recipe information describes the snack but does not establish a traditional region.
Disclaimer
This is a recipe food blog page and not nutrition or doctor and hence do not claim to cure any illness. If you have specific health issues please consult a qualified doctor or certified nutritionist.
I do consult experts, research Internet and at times seek help from Gemini to collect relevant information to put together some of these blogs.

