
How to Make Crispy Parathas from Leftover Dal
The Magic of Leftover Makeovers: Why Dal Paratha is a Nutritional Powerhouse
There’s a special kind of magic that happens in the kitchen when you transform last night’s dinner into today’s culinary masterpiece. This is the heart of the ‘Leftover Makeover’ philosophy—a celebration of resourcefulness that turns potential food waste into a moment of pure joy. And there is no greater example of this than turning humble leftover dal into golden, crispy, and unbelievably soft parathas. This isn’t just about saving food; it’s about creating a nutritional powerhouse that can redefine your breakfast or lunch.
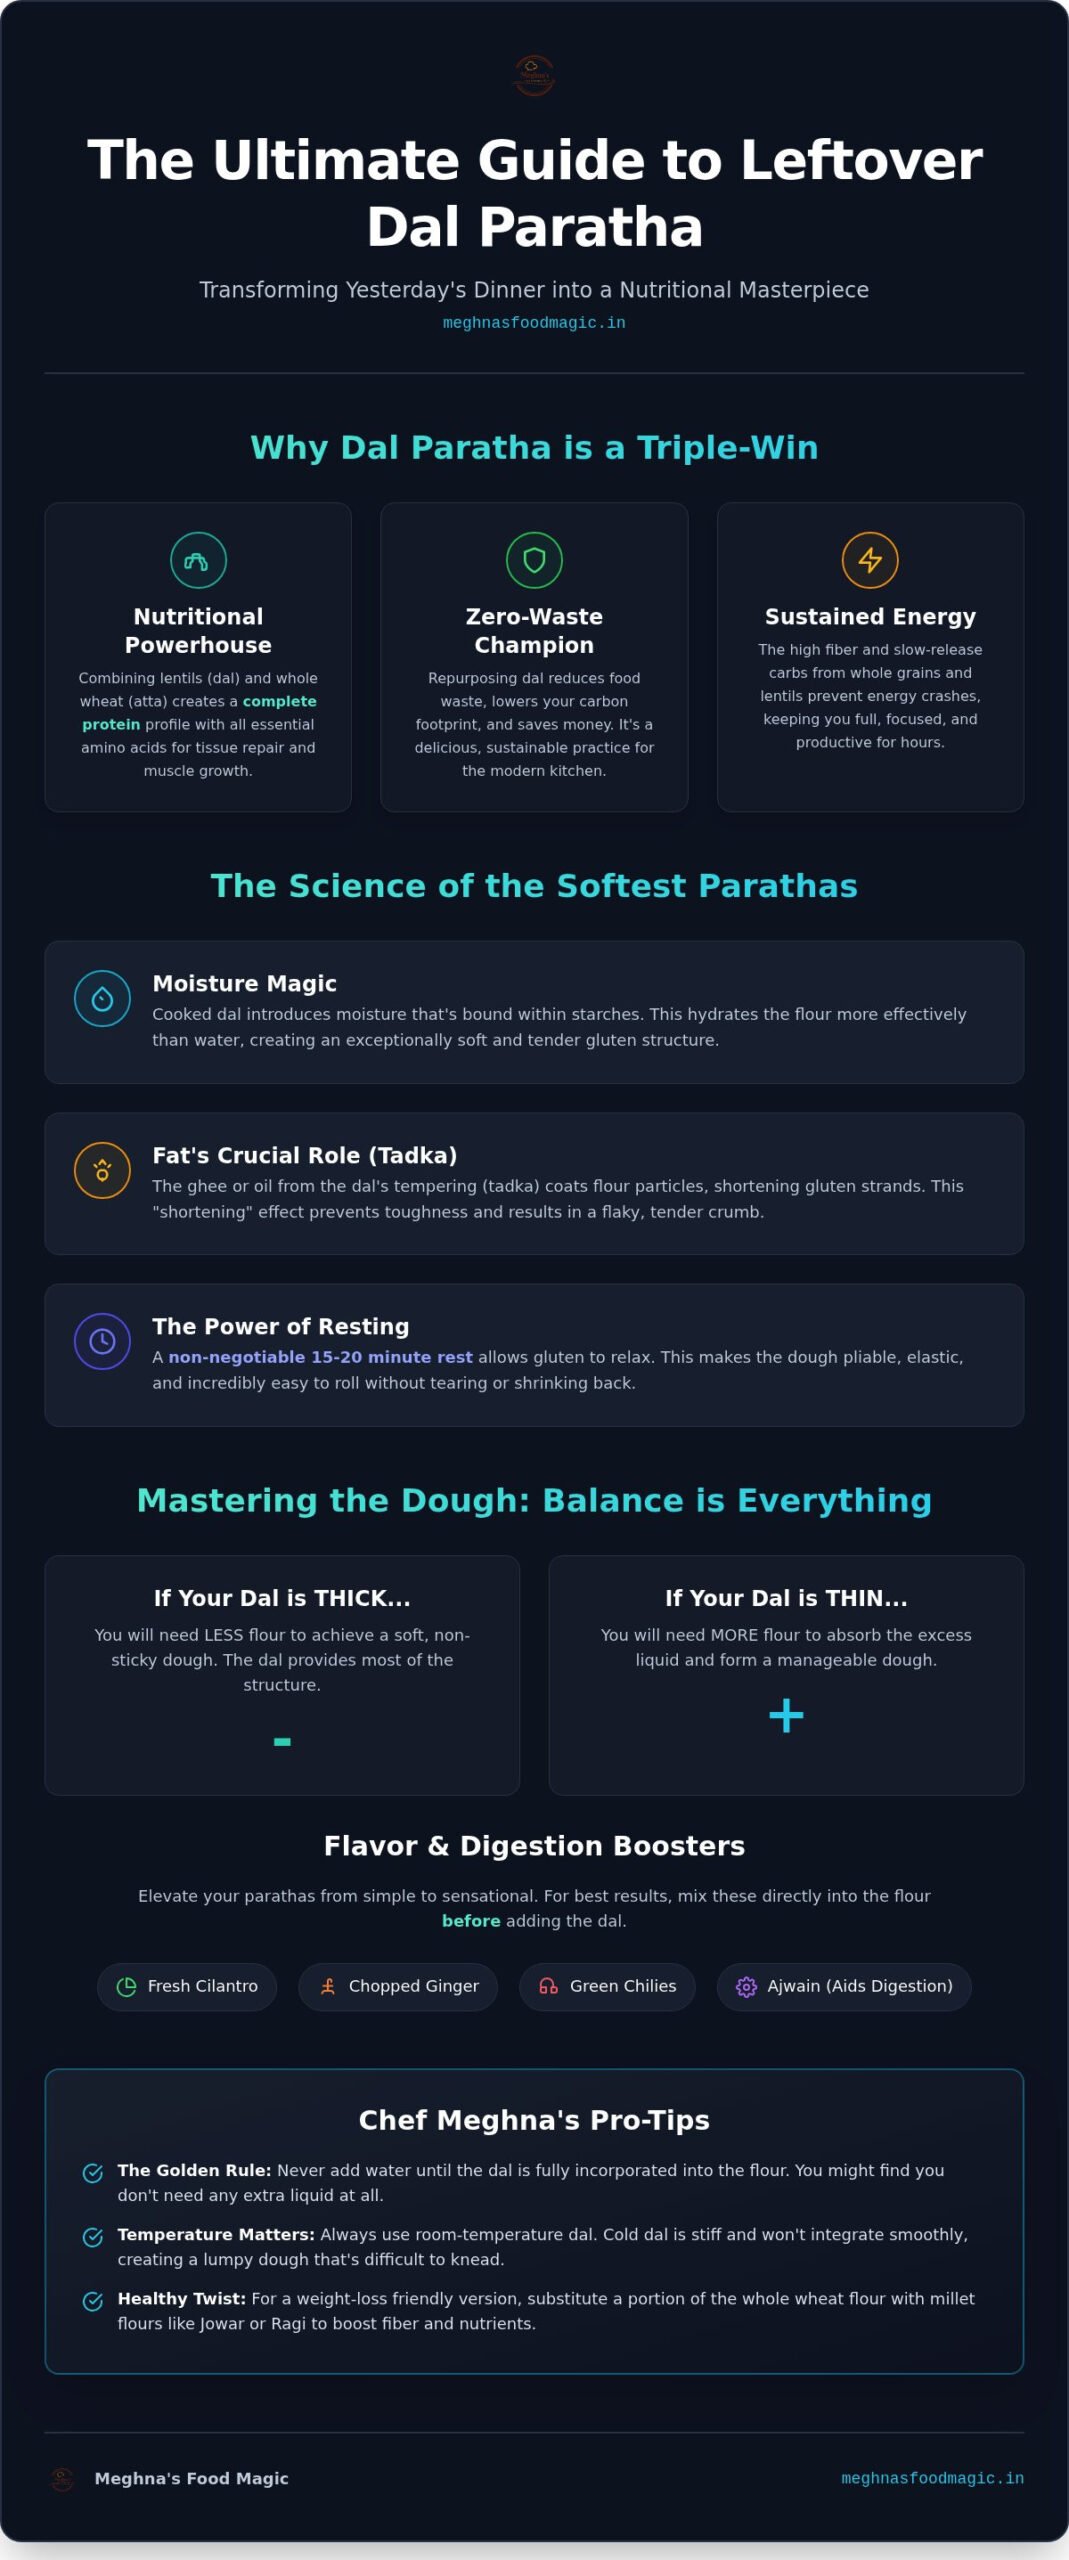
When you combine the wholesome goodness of whole wheat flour (atta) with protein-rich lentils (dal), you create a complete protein profile. This powerful synergy of cereals and pulses provides all the essential amino acids your body needs to build and repair tissues, making dal parathas the ultimate culinary therapy for busy mornings. It’s a meal that nourishes, satisfies, and comforts, all while honoring the food you worked hard to prepare. This is the core of the ‘Get Fit with Meghna’ approach: transforming traditional comfort food into a smart, balanced, and delicious part of a healthy lifestyle.
Zero-Waste Cooking: A Modern Kitchen Essential
In a world increasingly conscious of its environmental impact, zero-waste cooking is more than a trend; it’s a fundamental shift in how we value our resources. Every time you repurpose leftover dal, you’re not just making a tasty meal—you’re actively reducing your household’s carbon footprint and trimming your food budget. It’s a small act with a significant impact. For more ideas on how to create a sustainable kitchen, explore these 10 zero-waste kitchen tips that can transform your daily habits.
Beyond the practical benefits, there’s a deep emotional satisfaction that comes from creating ‘something from nothing’. This recipe is a testament to that feeling, a staple in the Meghna’s Food Magic database because it embodies creativity, nourishment, and respect for ingredients. It’s a win for your wallet, a win for the planet, and a delicious win for your taste buds.
Health Benefits: Protein, Fiber, and Sustained Energy
Let’s break down why this simple makeover is a nutritional champion. Lentils are packed with dietary fiber and protein, and when you knead them into whole wheat dough, you significantly fortify the fiber content of your flatbread. This high-fiber combination aids digestion, promotes gut health, and keeps you feeling full and satisfied for hours.
This makes dal Paratha an ideal breakfast for everyone, from fitness enthusiasts looking for post-workout muscle recovery to busy parents needing sustained energy to power through their day. The slow-releasing carbohydrates from the whole wheat and lentils prevent the dreaded mid-morning energy crash, providing a steady stream of fuel that keeps you focused and productive. It’s a perfect example of how to create a delicious and protein-rich breakfast for vegetarians without any extra effort.
The Culinary Science: Why Dal Creates the Softest Parathas
Have you ever wondered why dal parathas are often softer than regular ones? The secret lies in culinary science. The cooked dal introduces a significant amount of moisture directly into the dough, acting as a natural softener for the gluten in the wheat flour. Unlike plain water, this moisture is bound within the starches of the lentils, releasing slowly and creating a uniquely tender texture.
Furthermore, the fats present in the dal’s tadka (tempering) play a crucial role. These fats, whether from ghee or oil, coat the flour particles and shorten the gluten strands. This “shortening” effect is what prevents the dough from becoming tough and results in a more tender, almost flaky crumb. This is also why you should never add water until the dal is fully incorporated into the flour. You might find you don’t need any extra liquid at all. Finally, allowing the dough to rest for 15-20 minutes is non-negotiable. This resting period allows the gluten strands to relax, making the dough pliable and incredibly easy to roll without tearing.
Mastering the Dough Hydration
The single most important factor in a perfect dal paratha is dough hydration, and it all depends on the consistency of your leftover dal. If your dal is thick and creamy, you will need less flour. If it’s on the thinner, more watery side, you’ll need to be more generous with your flour to achieve a soft, non-sticky dough. The key is to add the flour gradually, mixing until a manageable dough forms. Remember, it’s always easier to add more flour than it is to fix an overly wet dough.
The beautiful golden-brown spots on a perfectly cooked paratha are the result of the Maillard reaction, a chemical process between amino acids and reducing sugars that gives browned food its distinctive flavor. And for the best results, always use room-temperature dal. Cold dal from the fridge will be much stiffer and won’t integrate as smoothly into the flour, potentially creating a lumpy, difficult-to-knead dough.
Flavor Infusion: Enhancing the ‘Tadka’ Profile
While the leftover dal already has its own flavor profile, kneading in fresh aromatics elevates the paratha from a simple flatbread to a multi-dimensional taste experience. Finely chopped ginger, green chilies, and fresh cilantro (coriander) introduce bright, pungent notes that cut through the richness of the lentils. Don’t be shy—these additions are what make your parathas truly unforgettable.
A pinch of carom seeds (ajwain) is another brilliant addition, not just for its unique, thyme-like flavor, but for its well-known digestive properties. Lentils can sometimes be heavy on the stomach, and ajwain helps counteract that, making the parathas lighter and easier to digest. To ensure these spices and herbs are evenly distributed, mix them into the flour first before adding the dal. This simple technique creates a uniform dough matrix where every single bite is bursting with flavor.
The Healthy Twist: Infusing Millets for Weight-Loss Friendly Parathas
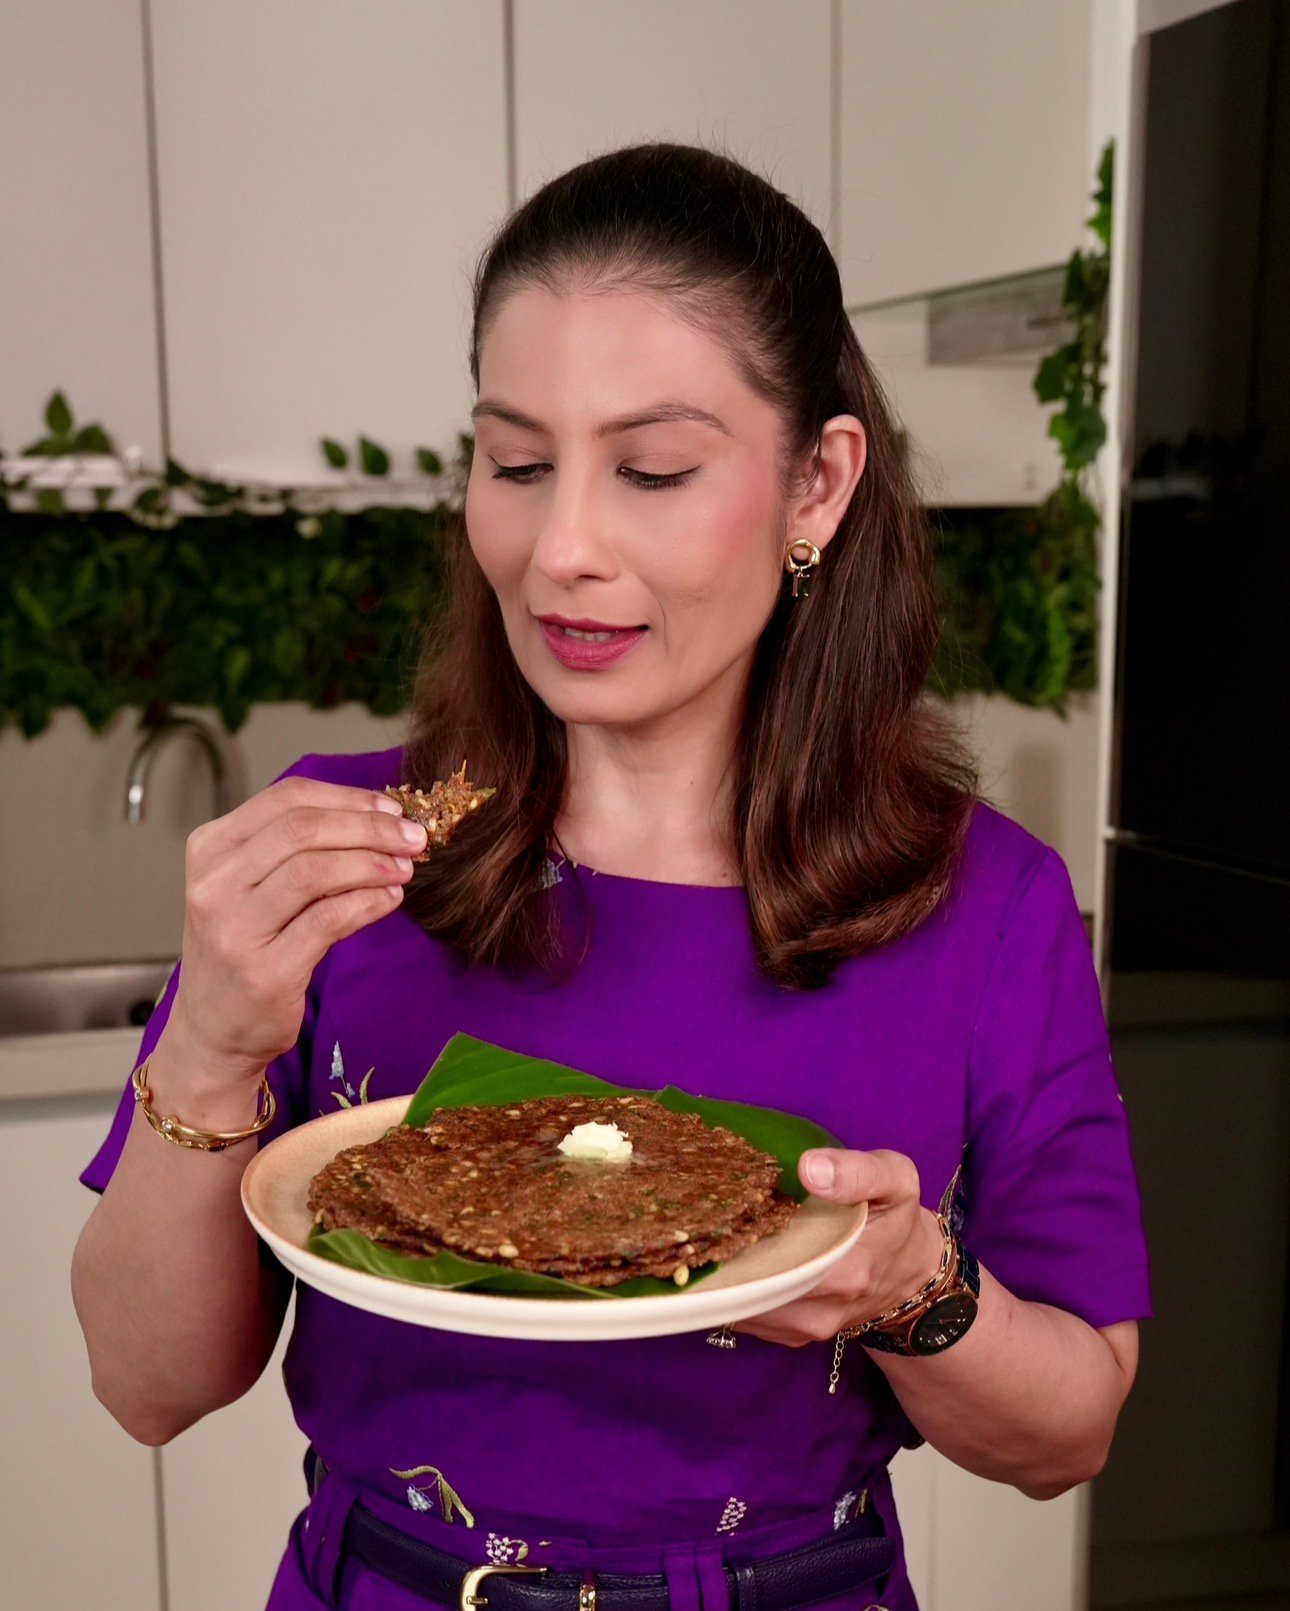
For those looking to take the health quotient even higher, introducing millets is a game-changer. Ancient grains like Jowar (Sorghum), Bajra (Pearl Millet), and Ragi (Finger Millet) are high-fiber, gluten-free alternatives that can transform your dal paratha into a weight-loss-friendly meal. The primary reason for this is their lower glycemic index, which helps in better blood sugar management and keeps you fuller for longer, preventing unnecessary snacking.
A great starting point is to blend 50% millet flour with 50% whole wheat flour. This ratio gives you the nutritional benefits of millets while retaining enough gluten from the wheat to make the dough easy to handle. As you get more comfortable, you can experiment with higher ratios. For more in-depth techniques on incorporating these powerful grains into your diet, explore the complete Millets Recipe Playlist for a visual guide.
Jowar and Bajra: The Powerhouse Grains
Working with Jowar and Bajra requires a slightly different approach. Since they lack gluten, the dough won’t be as elastic. This means it requires a firmer touch and should be kneaded with warm water (if needed) to help bind it. Don’t over-knead, as this won’t develop gluten and may make the dough tough.
Bajra is particularly beneficial during colder months, as it’s considered a “warming” grain in Ayurveda, providing nourishment and heat to the body. When rolling millet-dal parathas, be gentle. Dust generously with dry flour and use light pressure to prevent the edges from cracking. If they do crack, simply pinch them back together. The rustic texture and nutty flavor are well worth the extra care.
Ragi (Finger Millet) for Calcium and Iron
Incorporating Ragi flour will give your parathas a beautiful dark, earthy color and a massive nutrient boost. Ragi is a powerhouse of calcium, making it fantastic for bone health, and is also rich in iron. This is especially beneficial for children and women. Ragi flour is naturally denser and can absorb more moisture, so you may need to adjust your dal-to-flour ratio slightly.
To achieve a soft texture when working with this naturally drier flour, ensure your dal is moist and consider adding a tablespoon of yogurt or a teaspoon of oil to the dough. This extra fat and moisture will result in a soft, pliable dough that yields wonderfully tender parathas packed with wholesome goodness. For those exploring a gluten-free lifestyle, understanding how these grains work is key. You can learn more about the key benefits of going gluten-free and how it can impact your energy levels.
Step-by-Step: Kneading and Roasting for Maximum Crunch
Achieving that perfect balance of a soft interior and a crispy, golden exterior is an art. By following a systematic process, you can guarantee perfect dal parathas every single time. Forget complicated techniques; this is all about sequence and temperature control. For a visual deep-dive into different paratha styles, don’t forget to check out the complete Paratha Recipes by Meghna playlist on YouTube!
- Dal First, Flour Second: Always start by placing your leftover dal in a large mixing bowl. Add your spices, herbs, and seasonings directly to the dal and mix well. Then, begin adding the flour, one cup at a time, mixing with your hands until a shaggy, non-sticky dough forms. This method ensures you never accidentally add too much liquid.
- Rest is Best: Once the dough comes together, knead it for 3-4 minutes until smooth. Cover it with a damp cloth or a lid and let it rest for at least 20 minutes. This crucial step allows the flour to fully hydrate and the gluten to relax, which is the secret to easy rolling and soft parathas.
- Even Rolling for Even Cooking: Divide the rested dough into equal-sized balls. Dust a rolling surface with dry flour and gently roll each ball into a circle of even thickness, about 6-7 inches in diameter. If the dough is even, it will puff up beautifully on the tawa, ensuring it’s cooked through from the inside out.
- The ‘Tawa’ Method: The final step is the roast. Use a heavy-bottomed cast-iron or non-stick tawa for the best heat distribution. The goal is to achieve those beautiful golden-brown spots using minimal ghee or oil for a crispy, not greasy, finish.
The Perfect Pan-Sear Technique
Mastering the pan-sear is what separates a good paratha from a great one. First, get your temperature right. A medium-hot tawa is the sweet spot. If the tawa is too hot, the paratha will burn on the outside before it cooks inside. If it’s not hot enough, the paratha will become hard and leathery.
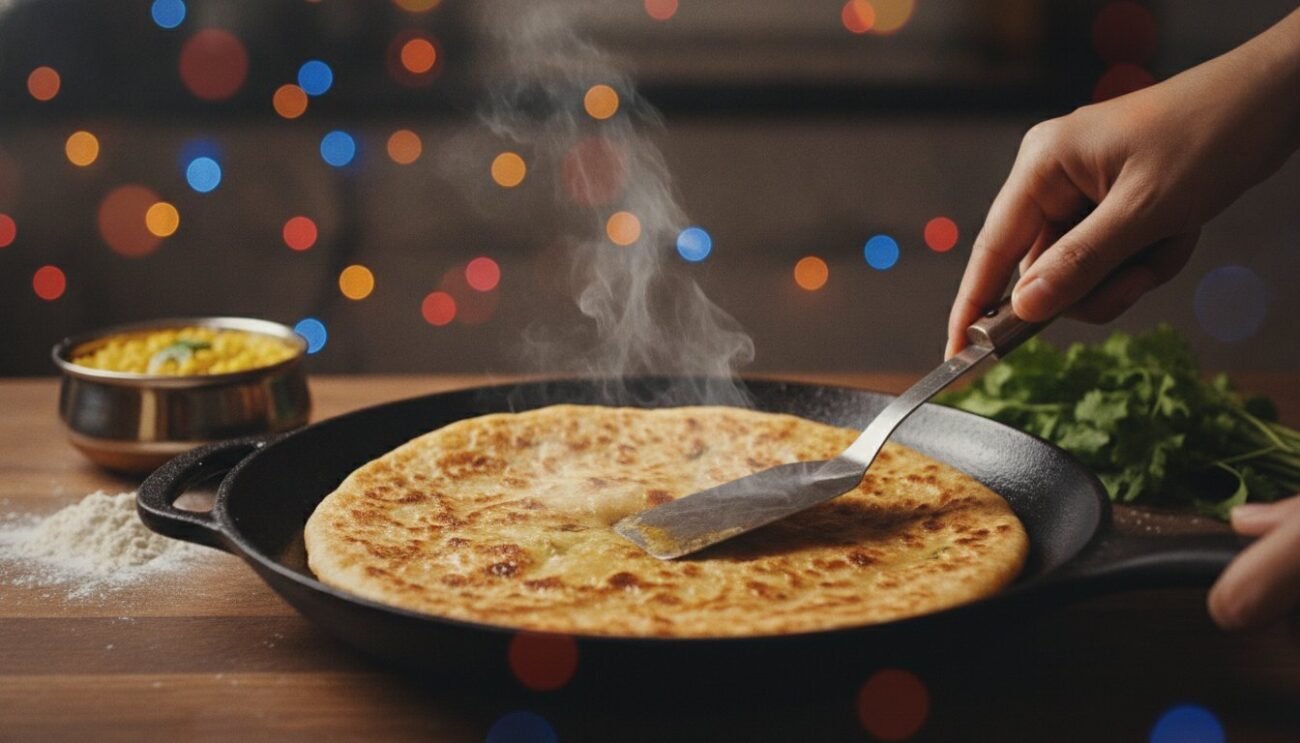
Place the rolled paratha on the hot tawa and cook for about 30-40 seconds, or until you see small bubbles appear. Flip it over. Now is the time to apply a thin layer of ghee or oil. The secret to a flaky texture is applying the fat after the paratha has been partially cooked on both sides. Use a flat spatula to gently press down on the paratha, especially around the edges. This ‘pressing’ secret ensures the edges get as crispy as the center, and it encourages the paratha to puff up like a balloon, signaling it’s perfectly cooked.
Chef Meghna’s Notes: Pro-Tips for Fussy Eaters and Tiffin Wins
As a chef, I know that a recipe is only as good as its ability to adapt to your family’s needs. Here are my professional troubleshooting tips to ensure your dal paratha journey is a resounding success, especially when dealing with picky eaters or packing the perfect lunchbox.
- What if my dough is too soft? This is the most common issue. Don’t panic! The fix is simple: just add more whole wheat flour, one tablespoon at a time, and knead it in until the dough is no longer sticky. Let it rest for another 10 minutes to allow the new flour to hydrate.
- Tiffin Secrets: To keep dal parathas soft in a tiffin box for over 6 hours, the trick is in the cooling process. Once cooked, place them on a wire rack to cool completely. Stacking them while hot creates steam, which makes them soggy. Once cool, you can stack them, and they will remain soft and delicious.
- Share Your Creations: I absolutely love seeing your leftover makeovers! If you try this recipe, share a picture of your crispy parathas and tag me on Chef Meghna’s Instagram. Let’s celebrate zero-waste cooking together!
The ‘Fussy Eater’ Transformation
Dal parathas are a fantastic canvas for hiding extra nutrition from fussy eaters. The strong, savory flavor of the dal and spices can easily mask the taste of finely grated vegetables. Try adding blanched and pureed spinach to the dal for a vibrant green ‘Hulk’ paratha, or mix in finely grated carrots, zucchini, or beetroot for a colorful and nutrient-dense meal.
For a fun twist, try the ‘Pizza Paratha’ trick. Cook the dal paratha as usual, then top it with a bit of tomato puree, some grated paneer or cheese, and a sprinkle of herbs. Place it back on the tawa for a minute until the topping is warm. It’s a healthy, high-protein take on pizza that kids absolutely adore. The key is making the food visually appealing; vibrant colors and fun shapes can convince even the pickiest child to take a bite, and once they are properly fueled, you can learn more about local sports programs to keep them active.
Storage and Reheating Mastery
Dal paratha dough can be stored in an airtight container in the fridge for up to 2 days. For longer storage, freezing is your best friend. You can freeze the raw, rolled-out paratha discs for ‘instant’ morning meals. To do this, roll out all your parathas and stack them with a piece of parchment paper between each one. This simple tip prevents them from sticking together. Place the stack in a freezer-safe zip-top bag and freeze for up to a month.
When you’re ready to eat, there’s no need to thaw. You can cook them directly from frozen on a hot tawa. They will take a minute or two longer to cook, but they will be just as fresh and crispy as the day you made them. The best way to reheat a cooked paratha without it becoming chewy is on a hot tawa for 30 seconds on each side. Avoid the microwave, as it tends to make them rubbery.
Frequently Asked Questions (FAQs)
- Can I use any type of dal for making parathas?
- Absolutely! This recipe is incredibly versatile. While thicker dals like Toor (Arhar) Dal, Chana Dal, or whole Masoor Dal work best because they create a less sticky dough, you can use any leftover dal you have. For thinner dals like red lentil (Masoor) or Moong Dal, you will simply need to add more flour to achieve the right consistency.
- How do I fix dough that has become too sticky to roll?
- A sticky dough is usually the result of too much moisture. The easiest fix is to add more dry whole wheat flour, one tablespoon at a time, kneading it in until the dough is smooth and manageable. You can also lightly oil your hands before handling the dough to prevent it from sticking to your fingers.
- Is dal paratha good for weight loss?
- Yes, it can be an excellent meal for weight loss. The combination of protein and fiber from lentils and whole grains keeps you full for a longer period, reducing overall calorie intake. To maximize its benefits, cook it with minimal ghee or oil and consider incorporating millet flours like jowar or bajra to lower the glycemic index.
- How long can I store the dal paratha dough in the fridge?
- The prepared dough can be stored in an airtight container in the refrigerator for up to 2 days. The dough might darken slightly due to oxidation, but it is perfectly safe to use. For longer storage, it’s best to roll and freeze the parathas.
- Can I make these parathas gluten-free?
- Yes, you can make them gluten-free by using a blend of millet flours like jowar, bajra, or ragi, combined with a binder like psyllium husk or a small amount of boiled and mashed potato. The texture will be more rustic and less pliable than wheat-based parathas, but they will be equally delicious and nutritious.
- What is the best side dish to serve with dal paratha?
- Dal parathas are a complete meal on their own, but they pair beautifully with plain yogurt (dahi), a tangy pickle (achaar), or a fresh mint-coriander chutney. A simple side salad also works wonderfully to add a fresh, crunchy element.
- Why do my parathas become hard after cooling down?
- Parathas usually become hard for two reasons: either the dough was too stiff (not enough moisture), or they were overcooked on low heat. Ensure your dough is soft and pliable, and cook the parathas on a medium-hot tawa. This allows them to cook quickly, puff up, and stay soft even after they cool.
- Can I use leftover sambar instead of dal?
- Yes, you can! Using leftover sambar is a fantastic South Indian twist on this recipe. Sambar has a tangy, spicy flavor profile that creates a delicious and unique paratha. Since sambar is typically thinner than dal and contains vegetables, you will likely need to add more flour to form a cohesive dough. Mash any large vegetable chunks before kneading.
Disclaimer
This is a recipe food blog page and not nutrition or doctor and hence do not claim to cure any illness. If you have specific health issues please consult a qualified doctor or certified nutritionist.
I do consult experts, research Internet and at times seek help from Gemini to collect relevant information to put together some of these blogs.

